Materials Tab
The materials tab displays various acoustic materials that have been created, as well as allows you to do simplistic assignment of the materials and adjustment of the materials’ acoustic properties.
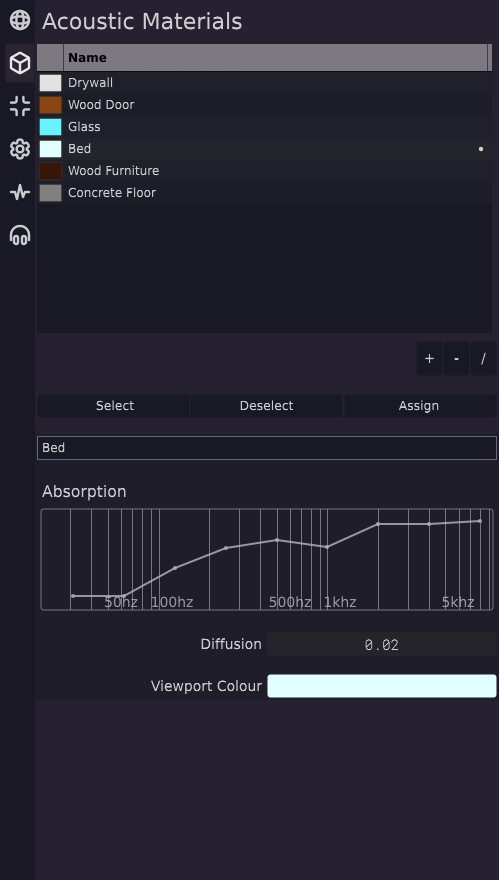
At the top of the section is the materials list box, which allows you to select which material is active for being assigned to elements of the 3D scene. If you double click on the colour of the material on the left side of the list box, you can change it to a different colour.
The “Select / Deselect / Assign” buttons below the list box allow you to quickly adjust the selection groups on the 3D scene. Clicking “Select” selects all groups in the scene which have the active material assigned to them. Clicking “Deselect” does the opposite. Clicking “Assign” assigns the active material to elements in the scene which are selected.
Additionally, when a 3D scene is available but there are elements in the scene which are not currently assigned to anything, an additional button called “Select All Unassigned” shows up. This button allows you to select every element in the 3D scene that does not have a material assigned to it, so you can get the scene ready more quickly.
When a material is selected, a new selection of controls become available underneath the list box. You can rename the material, and adjust its multiband absorption values. You can also adjust the diffusion value of the material, and the color of the Material as well.